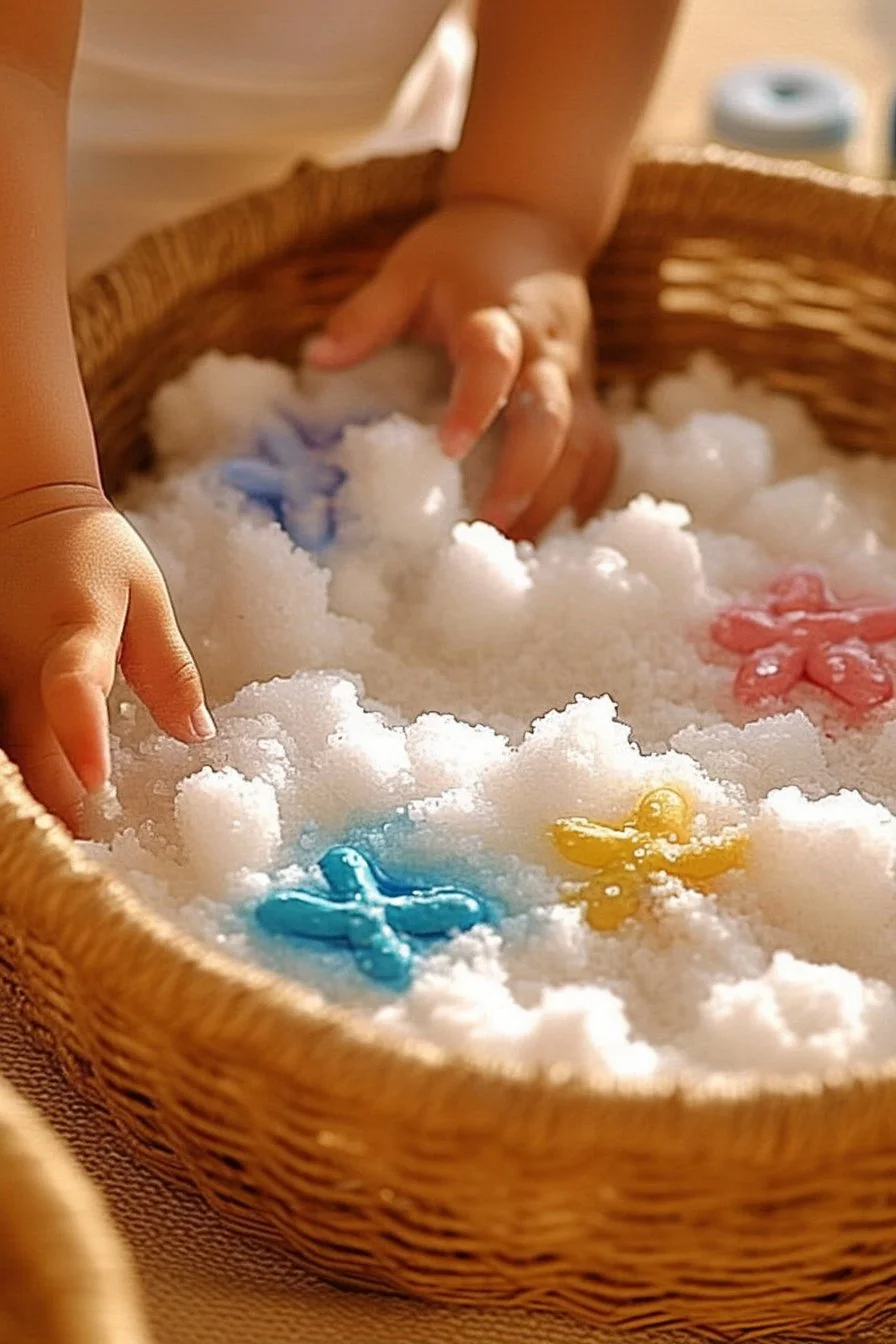
Salt Painting for Kids
Salt painting for kids is a fun and creative project that combines art and science. It’s an easy way for children to express their creativity while learning about color mixing and the effects of salt on water. This activity is perfect for a rainy day at home or as part of a classroom activity.
Why Make This Recipe
Making salt paintings is not only enjoyable but also educational. Children can explore their artistic skills by creating beautiful designs. The process of watching the colored water spread on the salt is fascinating. Moreover, it helps improve their fine motor skills and understanding of colors.
How to Make Salt Painting for Kids
Ingredients:
- White school glue (PVA)
- Table salt (fine grain)
- Liquid watercolors, food coloring, or liquid water-based paints
- Heavyweight paper or watercolor paper
- Paintbrushes, droppers, or pipettes
- Tray or newspaper (to catch excess salt)
Directions:
-
Draw with Glue: Begin by using the white school glue to create patterns, shapes, or outlines on your heavyweight paper. You might consider drawing flowers, rainbows, or abstract swirls—let your creativity flow!
-
Sprinkle Salt: While the glue is still wet, generously sprinkle fine grain table salt over your drawn designs. Ensure that all the glue lines are covered with salt. To remove any excess salt, gently shake the paper or tap it against the tray or newspaper.
-
Paint the Salt: Take a paintbrush or a dropper and dip it into your liquid watercolors or thinned food coloring. Carefully touch the salt lines with the color. Watch in amazement as the color begins to spread along the salt, creating beautiful and vibrant blooms.
-
Layer Colors: For an even more dynamic look, add additional colors right next to each other. This can create marbled or gradient effects. Allow the colors to blend naturally, but be careful not to over-saturate any areas for the best visual impact.
-
Dry & Display: Once you are happy with your painting, set it aside to air-dry completely. This process can take around 30 to 60 minutes. After it’s dry, consider framing it or hanging it up so everyone can admire your sparkly salt painting!
Tips & Variations:
- Experiment with texture: Try using thicker lines of glue to create raised areas that will hold more salt and paint for different effects.
- Use different types of paper: Cardstock or mixed media paper can also work well and may provide different visual results compared to watercolor paper.
How to Serve Salt Painting for Kids
To serve your salt painting, simply display it proudly in your home. You can hang it on the wall or place it on a shelf for everyone to see. It makes a great decoration or a special gift for family members.
How to Store Salt Painting for Kids
Your salt painting should be stored in a cool, dry place. Avoid exposing it to moisture to prevent the salt from getting damp. You can keep it flat in a container or under a heavy book to protect it until you’re ready to display it.
Tips to Make Salt Painting for Kids
- Make sure to use enough salt to cover all the glue lines. This will help the colors spread better.
- Encourage kids to be creative with their designs. There are no wrong patterns!
- Supervise children when using paintbrushes or droppers to ensure safety and proper use.
Variations
For a fun twist, you can use glitter or colored sand instead of salt. This can add extra sparkle and texture to the paintings.
FAQs
1. Can I use regular salt instead of fine grain salt?
Yes, but fine grain salt works best since it holds the colors better and allows for smoother blending.
2. Is this project safe for young children?
Yes, this project uses non-toxic materials and is safe for children. However, adult supervision is recommended when using art supplies.
3. How long does it take for the salt painting to dry completely?
It typically takes about 30 to 60 minutes for the painting to dry, depending on the thickness of the glue and paint used.
Salt Painting for Kids
- Total Time: 70 minutes
- Yield: 1 art piece
- Diet: N/A
Description
A fun and educational art project combining creativity and color science, perfect for kids on a rainy day.
Ingredients
- White school glue (PVA)
- Table salt (fine grain)
- Liquid watercolors, food coloring, or liquid water-based paints
- Heavyweight paper or watercolor paper
- Paintbrushes, droppers, or pipettes
- Tray or newspaper (to catch excess salt)
Instructions
- Draw with Glue: Use white school glue to create patterns or shapes on heavyweight paper.
- Sprinkle Salt: While the glue is still wet, generously sprinkle fine grain table salt over the designs.
- Paint the Salt: Dip a paintbrush or dropper into liquid watercolors and touch the salt lines with the color.
- Layer Colors: Add additional colors next to each other for dynamic effects.
- Dry & Display: Allow the painting to air-dry completely for 30 to 60 minutes before displaying.
Notes
Experiment with different types of paper and encourage kids to be creative with their designs. Use thicker glue lines for raised effects.
- Prep Time: 10 minutes
- Cook Time: 60 minutes
- Category: Art Project
- Method: Handcrafting
- Cuisine: N/A