
Pressed Flower Art
Pressed Flower Art
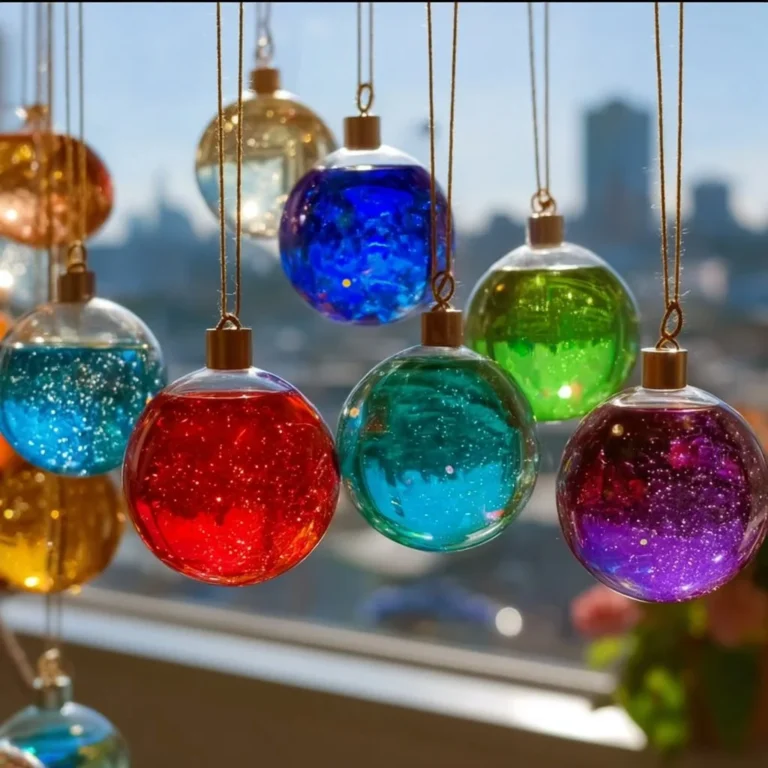
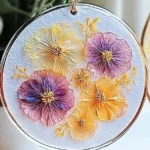
Pressed Flower Art is a beautiful and creative way to bring nature indoors. By preserving the delicate beauty of flowers, you can create stunning decorations for your home. This simple craft project is perfect for people of all ages, whether you are looking to make a gift or simply decorate your space.
Why Make This Recipe
Creating Pressed Flower Art is a great way to express your creativity and connect with nature. It allows you to capture the beauty of flowers and leaves, making them last long after their season has passed. This craft can also be a fun activity for kids and adults alike. Plus, it’s an economical way to create art without needing expensive materials!
How to Make Pressed Flower Art
Ingredients
- Clear school glue
- Plastic lid or clear acetate sheet
- Pressed flowers
- Optional tissue paper scraps
- Glitter
- Sequins
- Dried leaves
- String or suction cup hook
- Scissors
- Wax paper or parchment paper
- Optional black marker or construction paper
Directions
-
Prepare Your Workspace: Place wax paper or parchment on your table. Lay down your plastic lid or tape down the acetate sheet.
-
Pour the Glue Base: Pour a thin even layer of glue about 1/4 inch thick. Gently tap to release air bubbles.
-
Arrange the Florals: Press flowers into the wet glue. Add tissue paper, glitter, sequins, or leaves. Do not overcrowd.
-
Dry Completely: Let it sit flat for 24-48 hours. It is ready when the surface is dry, clear, and peels easily.
-
Peel Finish: Peel from the base, trim edges, and add a paper frame if desired.
-
Hang and Enjoy: Punch a hole and add string or use a suction cup hook.
How to Serve Pressed Flower Art
You can serve your Pressed Flower Art by placing it in a frame and hanging it on your wall. It makes a lovely decoration. You can also give it as a heartfelt gift to friends or family.
How to Store Pressed Flower Art
To store Pressed Flower Art, keep it in a cool, dry place. Use a frame to prevent damage, or place it between sheets of wax paper to protect it from dust and moisture.
Tips to Make Pressed Flower Art
- Use fresh flowers for the best results, and press them before using.
- Experiment with colors and shapes of flowers for a vibrant look.
- Allow plenty of drying time to ensure it sets properly.
Variation
You can vary your Pressed Flower Art by using different materials like colored paper or metallic markers for added detail. You can also try using different types of foliage for a unique look.
FAQs
Q: Can I use any flowers for Pressed Flower Art?
A: Yes, most flowers can be used, but some press better than others. Delicate flowers like pansies and violets work well.
Q: How do I press flowers?
A: Place flowers between sheets of wax paper and weigh them down with books. Leave them for a week or until they are completely dried.
Q: Can I use this technique for other items?
A: Absolutely! You can press leaves, herbs, or even small photographs to create mixed media art.
Pressed Flower Art
- Total Time: 1455 minutes
- Yield: 1 art piece
- Diet: N/A
Description
A beautiful and creative way to bring nature indoors through the art of pressing flowers.
Ingredients
- Clear school glue
- Plastic lid or clear acetate sheet
- Pressed flowers
- Optional tissue paper scraps
- Glitter
- Sequins
- Dried leaves
- String or suction cup hook
- Scissors
- Wax paper or parchment paper
- Optional black marker or construction paper
Instructions
- Prepare Your Workspace: Place wax paper or parchment on your table. Lay down your plastic lid or tape down the acetate sheet.
- Pour the Glue Base: Pour a thin even layer of glue about 1/4 inch thick. Gently tap to release air bubbles.
- Arrange the Florals: Press flowers into the wet glue. Add tissue paper, glitter, sequins, or leaves. Do not overcrowd.
- Dry Completely: Let it sit flat for 24-48 hours. It is ready when the surface is dry, clear, and peels easily.
- Peel Finish: Peel from the base, trim edges, and add a paper frame if desired.
- Hang and Enjoy: Punch a hole and add string or use a suction cup hook.
Notes
Use fresh flowers for the best results and allow plenty of drying time to ensure it sets properly.
- Prep Time: 15 minutes
- Cook Time: 1440 minutes
- Category: Craft
- Method: Crafting
- Cuisine: N/A