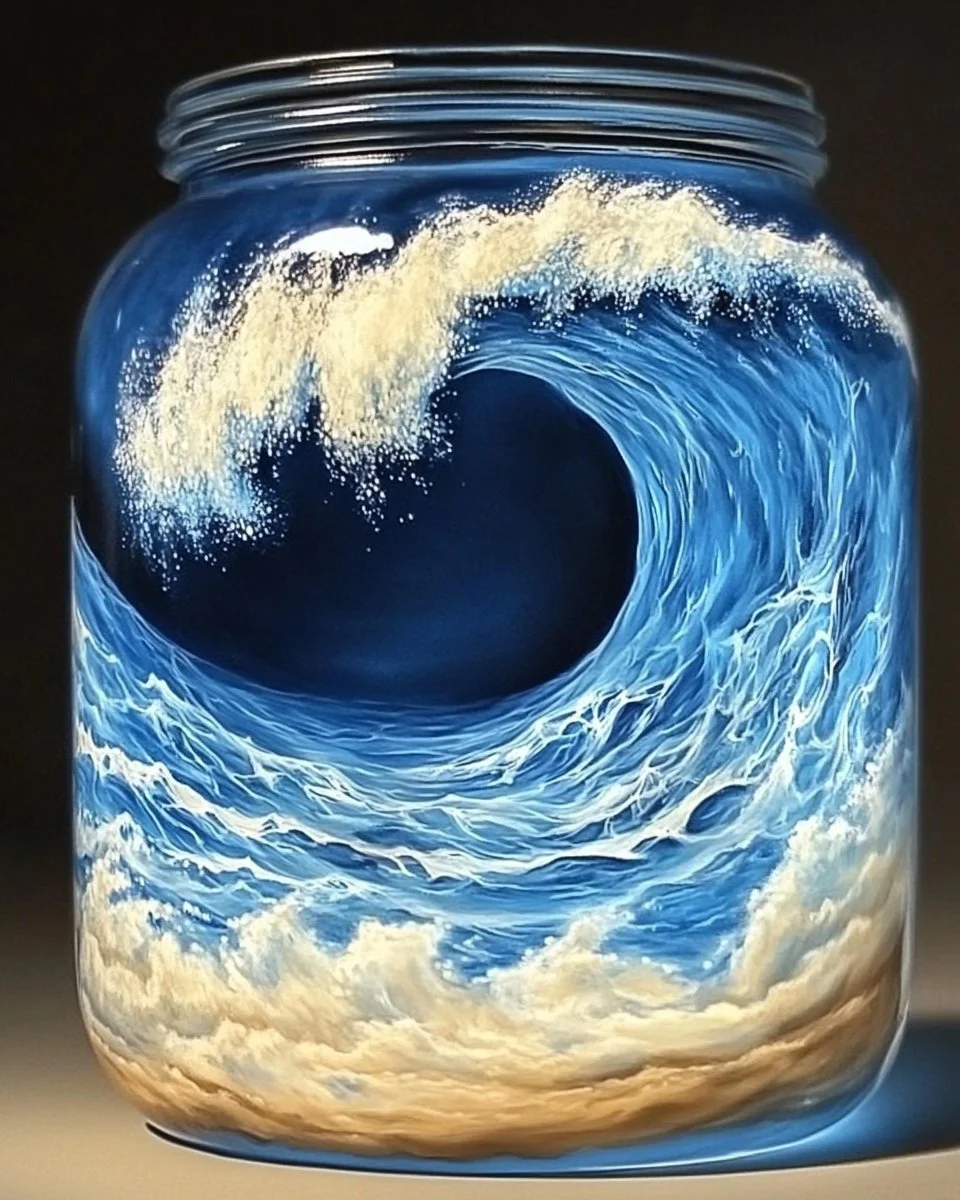
Ocean Wave in a Jar
Ocean Wave in a Jar
Ocean Wave in a Jar is a fun and easy science project that you can do at home. This colorful sensory activity is perfect for kids and adults alike. It simulates waves in the ocean, using simple ingredients you probably have around your house. Let’s dive into this exciting project!
Why Make This Recipe
Creating Ocean Wave in a Jar is not just fun; it also teaches a bit about density and the properties of liquids. It’s a great way to engage children in science while making something beautiful to display. Plus, it’s a great activity for parties or a rainy day!
How to Make Ocean Wave in a Jar
Ingredients:
- Clear jar or glass container with lid
- Water
- Blue food coloring
- Vegetable oil
- Salt
- Small funnel (optional)
- Tray or towel (to catch spills)
Directions:
- Fill the jar about halfway with water.
- Add several drops of blue food coloring to the water and stir gently to mix.
- Stir in a teaspoon of salt to the colored water to help create wave movement.
- Slowly pour vegetable oil on top of the colored water until the jar is nearly full, leaving some space at the top.
- Secure the lid tightly and gently tilt or shake the jar to see the ‘waves’ form and move inside.
- Watch as the oil and water move separately, creating rolling waves inside the jar.
How to Serve Ocean Wave in a Jar
You can display your Ocean Wave in a Jar as a beautiful centerpiece or a calming decoration in your room. Just make sure to place it on a tray or towel to prevent spills. Enjoy shaking it gently to watch the waves every now and then!
How to Store Ocean Wave in a Jar
Keep your Ocean Wave in a Jar in a cool, dry place. Make sure the lid is tightly secured to prevent any spills. If you notice any leaks, clean the area immediately.
Tips to Make Ocean Wave in a Jar
- Use a small funnel to pour the oil, as this can help avoid spills.
- Experiment with different colors using food coloring to create unique wave effects.
- Try adding glitter for a sparkling ocean effect!
Variation
You can change the colors to create sunsets or other ocean scenes. Use other types of oil to see how they interact with the water differently.
FAQs
1. Can I use other colors for the waves?
Yes! You can use different food coloring for various wave effects. Try mixing colors for more fun!
2. Why does the oil float on top?
Oil is less dense than water, which is why it floats. This is also what creates the wave effect in the jar.
3. How long will it last?
As long as you keep the lid on tight, your Ocean Wave in a Jar can last for a long time. Just be careful not to shake it heavily for a long time.
Enjoy making your Ocean Wave in a Jar and have fun watching the ‘waves’ roll and move!
Print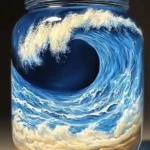
Ocean Wave in a Jar
- Total Time: 10 minutes
- Yield: 1 jar
- Diet: N/A
Description
A fun and easy science project simulating ocean waves, perfect for all ages.
Ingredients
- Clear jar or glass container with lid
- Water
- Blue food coloring
- Vegetable oil
- Salt
- Small funnel (optional)
- Tray or towel (to catch spills)
Instructions
- Fill the jar about halfway with water.
- Add several drops of blue food coloring and stir gently to mix.
- Stir in a teaspoon of salt to help create wave movement.
- Slowly pour vegetable oil on top of the colored water until the jar is nearly full, leaving some space at the top.
- Secure the lid tightly and gently tilt or shake the jar to see the ‘waves’ form and move inside.
- Watch as the oil and water move separately, creating rolling waves inside the jar.
Notes
Use a small funnel to avoid spills and experiment with different colors or add glitter for a sparkling ocean effect.
- Prep Time: 10 minutes
- Cook Time: 0 minutes
- Category: Craft
- Method: Crafting
- Cuisine: N/A