Jellyfish Salt Painting
Jellyfish Salt Painting
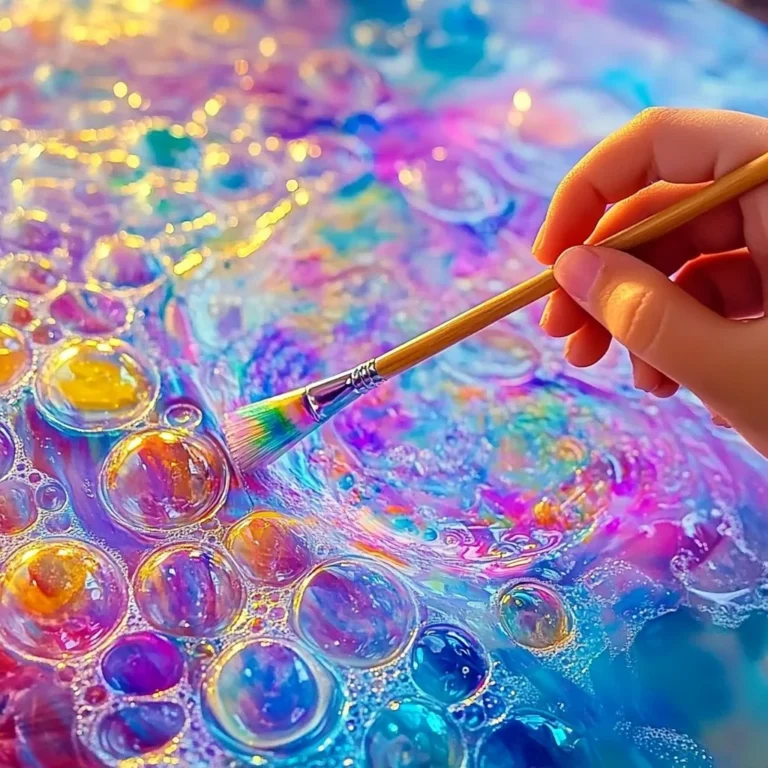
Jellyfish salt painting is a fun and creative activity that combines art and science. This project is great for kids and adults alike. It is easy to do and can lead to beautiful and colorful results. You will only need a few simple materials, and you will be amazed at what you can create!
Why Make This Recipe
Making jellyfish salt paintings is a wonderful way to express creativity. It also helps develop fine motor skills in children. The process of pouring salt and painting can be calming and relaxing. Plus, you get to enjoy a lovely piece of art at the end. Whether you want to decorate your home, create a gift, or just have fun, this activity is perfect for you.
How to Make Jellyfish Salt Painting
Ingredients:
- White cardstock or watercolor paper
- White school glue
- Table salt (regular granulated salt)
Directions:
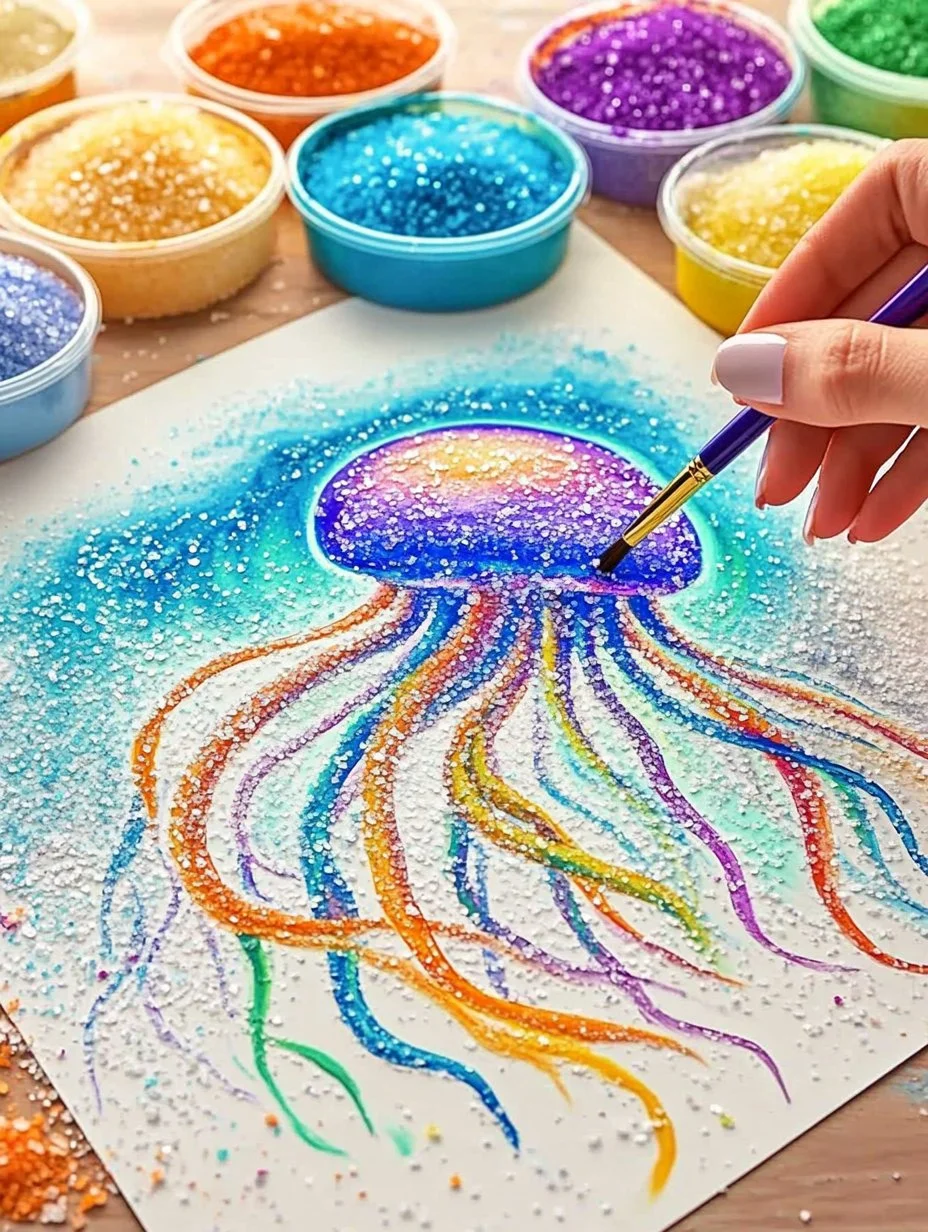
- Use the white school glue to draw the shape of a jellyfish on the cardstock or watercolor paper.
- While the glue is still wet, pour table salt over the glue drawing until it is covered.
- Allow the glue to dry completely.
- Once dried, you can add watercolor paint to the salt to create beautiful effects.
- Let the painting dry completely before displaying.
How to Serve Jellyfish Salt Painting
You can display your jellyfish salt painting on a wall or shelf as a lovely decoration. It can also be a thoughtful gift for friends or family. Just make sure it is dry and ready to show off!
How to Store Jellyfish Salt Painting
To store your jellyfish salt painting, keep it in a dry place. You can place it in a frame or a protective sleeve to avoid any damage. Make sure it is away from moisture to keep the salt and paint intact.
Tips to Make Jellyfish Salt Painting
- Be creative with your jellyfish shape! You can make it as big or as small as you like.
- Experiment with different colors of watercolor paint for unique effects.
- If you want a thicker layer of salt, apply more glue before pouring salt over it.
Variation
You can change the design by drawing different sea creatures or underwater scenes. Try using glitter instead of salt for a sparkly effect!
FAQs
1. Can I use other types of glue?
It is best to use white school glue for this project, as it dries clear and holds the salt well.
2. What if I don’t have watercolor paint?
You can use any type of paint or even markers, but watercolor gives the best effect on salt.
3. How long does it take for the glue to dry?
It usually takes a few hours for the glue to dry completely, depending on how thick the glue layer is.
Now you’re ready to dive into the world of jellyfish salt painting! Enjoy this creative project and let your imagination flow.
Print
Jellyfish Salt Painting
- Total Time: 135 minutes
- Yield: 1 painting
Description
A fun and interactive art project that combines creativity and science for kids and adults.
Ingredients
- White cardstock or watercolor paper
- White school glue
- Table salt (regular granulated salt)
Instructions
- Use the white school glue to draw the shape of a jellyfish on the cardstock or watercolor paper.
- While the glue is still wet, pour table salt over the glue drawing until it is covered.
- Allow the glue to dry completely.
- Once dried, you can add watercolor paint to the salt to create beautiful effects.
- Let the painting dry completely before displaying.
Notes
Be creative with your jellyfish shape and experiment with different colors of watercolor paint.
- Prep Time: 15 minutes
- Cook Time: 120 minutes
- Category: Arts and Crafts
- Method: Painting