
Flower Pressing Art
Flower pressing art is a fun and creative way to preserve the beauty of fresh flowers. By turning them into lasting pieces of art, you can enjoy their colors and shapes for years to come. This simple craft is great for all ages and can be a wonderful activity to share with friends or family.
Why Make This Recipe
Making flower pressing art allows you to capture special moments, like a wedding bouquet or flowers from a memorable trip. It’s also an excellent way to unleash your creativity and brighten up your living space with personalized decorations. Plus, it’s an eco-friendly craft that promotes reusing natural materials.
How to Make Flower Pressing Art
Ingredients:
- Fresh flowers
- Wax paper
- Crayon shavings
- Iron
- A frame of your choice
Directions:
Press the Flowers: Start by taking fresh flowers and placing them between absorbent paper like paper towels. Weigh them down with heavy items, such as books or bricks, and let them sit for two to three weeks to fully dry and press.
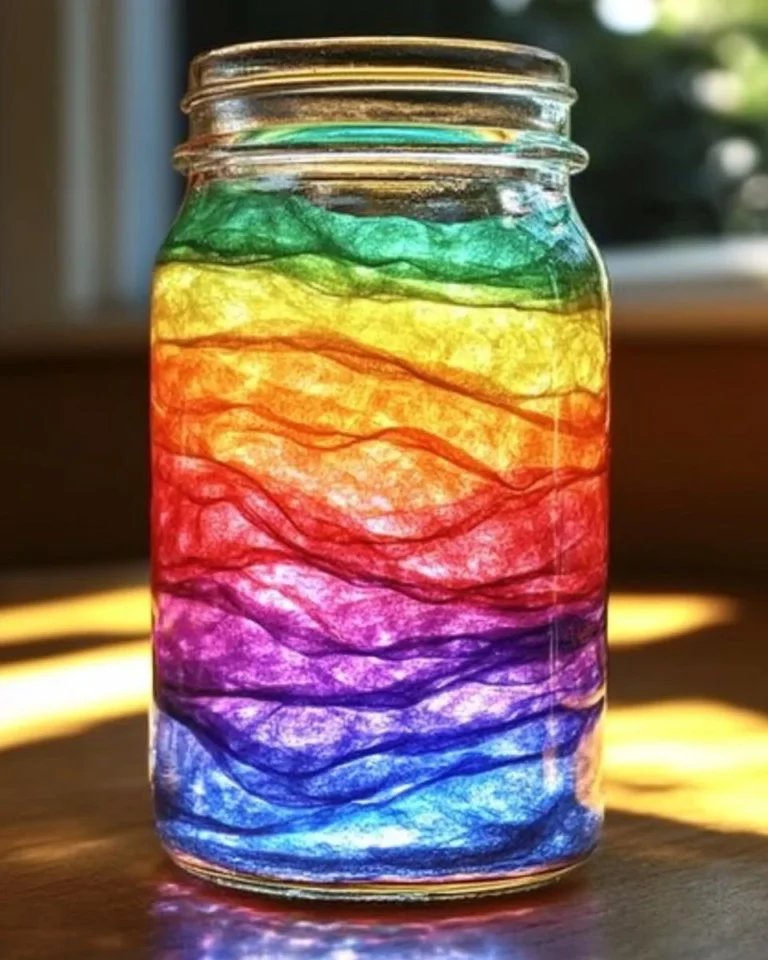
Prepare the Wax Paper: While waiting, cut two sheets of wax paper to match the size of the frame you will be using. Make sure they are even and clean for the best results.
Arrange the Flowers and Crayon Shavings: Once the flowers are pressed, lay one sheet of wax paper flat on a clean surface. Carefully arrange the dried flowers on top of this sheet, positioning them creatively to your preference. Then, sprinkle crayon shavings over the flowers to add color and texture.
Seal and Iron the Wax Paper: Take the second sheet of wax paper and place it on top of the arranged flowers and crayon shavings. Preheat the iron to medium heat (without steam). Gently press down on the top layer of wax paper with the iron for a few seconds to seal the two sheets together. Make sure to move the iron around to ensure even melting of the wax.
Cool and Frame: After ironing, carefully remove the artwork from the heat and let it cool completely. Once cooled, place the pressed flower art in the frame of your choice and secure it in place.
How to Serve Flower Pressing Art
Flower pressing art can be displayed in various ways. You can hang it on the wall, put it on a shelf, or gift it to someone special. It adds a lovely touch to any room and can be a heartfelt present.
How to Store Flower Pressing Art
To store your flower pressing art, keep it in a cool, dry place away from direct sunlight to prevent fading. You can also keep it in a protective frame to avoid damage. If you have multiple pieces, consider using a portfolio or binder to keep them organized.
Tips to Make Flower Pressing Art
- Use flowers that are known for their flat shapes and vibrant colors, such as daisies, pansies, or violets.
- Experiment with different crayon colors for unique results.
- Make sure not to apply too much heat with the iron, as this could burn the flowers.
Variation
You can create a themed collection by pressing flowers from different seasons, or using specific colors that match your home decor. Consider also adding pressed leaves or twigs for added texture.
FAQs
Q1: Can I use dried flowers instead of fresh ones?
A1: Yes, you can use dried flowers, but fresh flowers will retain more vibrant colors during the pressing process.
Q2: How long does the pressed flower art last?
A2: If stored properly, pressed flower art can last for many years. However, colors may fade over time depending on light exposure.
Q3: Can I use other materials instead of crayon shavings?
A3: Yes! You can use colored sand, glitter, or even small pebbles to add variety to your pressed flower art.
Now you’re ready to create beautiful flower pressing art. Enjoy the process and let your creativity bloom!
Print
Flower Pressing Art
- Total Time: 2-3 weeks (includes pressing time)
- Yield: 1 framed artwork
Description
Flower pressing art is a fun and creative way to preserve the beauty of fresh flowers. This simple DIY craft lets you turn flowers into lasting pieces of art, perfect for decoration or gifting.
Ingredients
– Fresh flowers – Wax paper – Crayon shavings – Iron – A frame of your choice
Instructions
1. **Press the Flowers**: Place fresh flowers between absorbent paper (like paper towels) and weigh them down with heavy books. Let sit for 2–3 weeks to fully dry and flatten. 2. **Prepare the Wax Paper**: Cut two sheets of wax paper to match your chosen frame size. Ensure they are clean and even. 3. **Arrange the Flowers and Crayon Shavings**: Lay one sheet of wax paper flat, arrange dried flowers on top, then sprinkle with crayon shavings for added texture and color. 4. **Seal and Iron the Wax Paper**: Place the second sheet of wax paper on top. Using a medium heat iron (no steam), press gently for a few seconds to melt and seal the sheets together. 5. **Cool and Frame**: Let the artwork cool completely. Place it into the frame and secure it for display.
Notes
Tips: – Use flat flowers with vibrant colors like daisies, pansies, or violets. – Try different crayon colors to create unique backgrounds. – Avoid using too much heat while ironing to prevent burning the flowers. Variations: – Create themed collections based on seasons or color schemes. – Add pressed leaves, twigs, or herbs for more texture. FAQs: – **Can I use dried flowers instead of fresh ones?** Yes, but fresh flowers retain brighter colors. – **How long does the pressed flower art last?** If stored properly, for years. Colors may fade with light exposure. – **Can I use other materials instead of crayon shavings?** Yes! Try glitter, colored sand, or small pebbles.
- Prep Time: 10 minutes (excluding pressing time)
- Cook Time: 5 minutes
- Category: Craft
- Method: Pressed & Ironed
- Cuisine: N/A