DIY Suncatchers
DIY Suncatchers
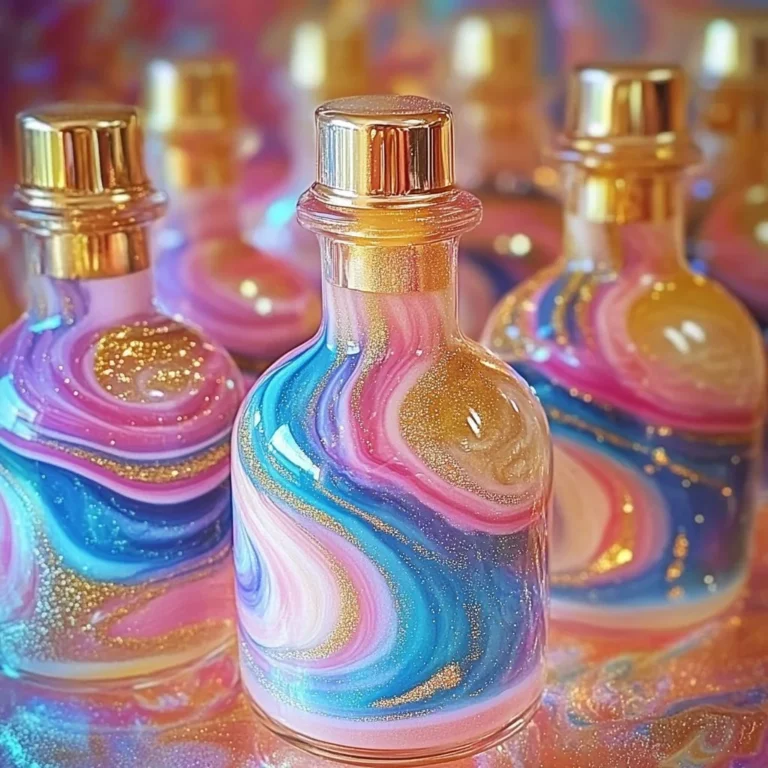
DIY suncatchers are a fun and colorful craft that everyone can enjoy. They add a beautiful touch to your windows as they catch the light and create lovely patterns. Making your own suncatcher is a simple project that you can do with materials you may already have at home. It’s a great way to express creativity and brighten up any space!
Why Make This Recipe
Making DIY suncatchers is an enjoyable activity for both kids and adults. It’s an excellent way to spend time together as a family or to unleash your artistic side. Plus, suncatchers are perfect for decorating your home. They allow sunlight to shine through, creating colorful reflections around the room. You can also customize them according to your favorite colors and designs!
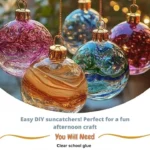
How to Make DIY Suncatchers
Ingredients:
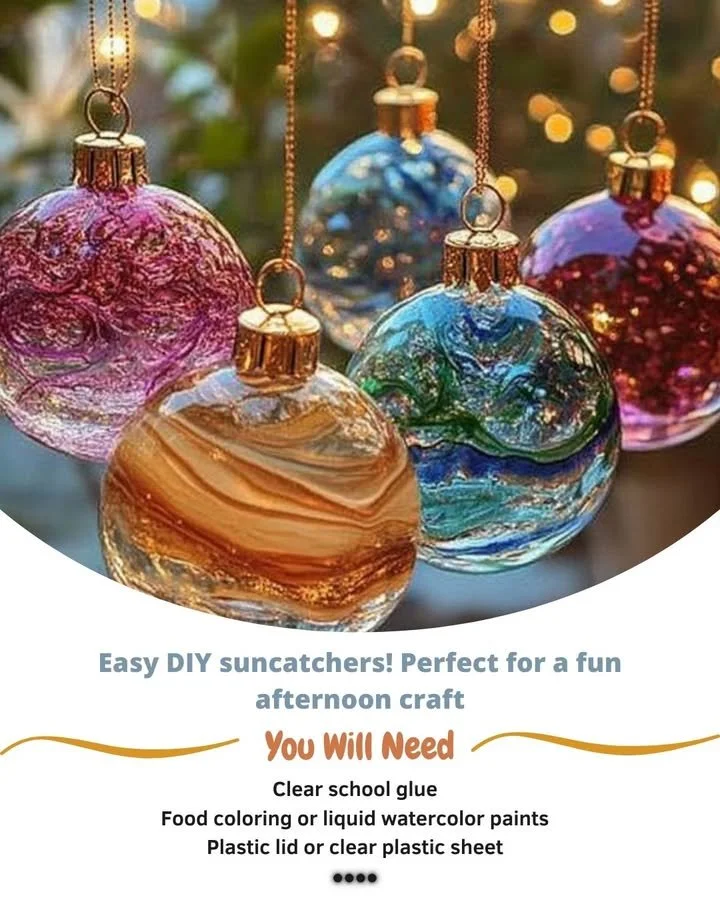
- Clear school glue
- Food coloring or liquid watercolor paints
- Plastic lid or clear plastic sheet
- Toothpicks or paintbrushes
- Scissors
- Optional: glitter
- Optional: sequins
- Optional: mini beads
- Optional: string or suction cup hooks for hanging
- Wax paper or parchment paper
Directions:
- Mix a few drops of food coloring or liquid watercolor paint into a small bowl of clear school glue until the color is evenly distributed.
- Use a paintbrush or toothpick to apply the colored glue onto a plastic lid or clear plastic sheet in your desired designs.
- If using, sprinkle glitter, sequins, or mini beads onto the glue while it’s still wet for extra sparkle and texture.
- Allow your suncatcher to dry completely.
- Once dry, peel it off the wax paper or parchment paper, and hang it using string or suction cup hooks.
How to Serve DIY Suncatchers
To serve your DIY suncatchers, simply hang them in a sunny window where they can catch the light. You can use string or suction cup hooks to display your creations. They look beautiful during the day when the sunlight pours through, creating colorful reflections in your room.
How to Store DIY Suncatchers
If you need to store your suncatchers, keep them in a cool, dry place. You can wrap them in soft cloth to prevent any damage. Avoid placing heavy items on top of them, as they may break.
Tips to Make DIY Suncatchers
- Experiment with different colors and designs to create unique suncatchers.
- Use a variety of shapes and sizes for an interesting collection.
- Let your kids help with making the suncatchers for a fun bonding experience.
- If you want your suncatchers to be more durable, consider using a clear plastic sheet instead of a lid.
Variation
You can create themed suncatchers for different seasons or holidays! For example, use autumn colors for fall or bright pastels for spring.
FAQs
1. How long does it take for the suncatchers to dry?
Suncatchers usually take about 24 hours to dry completely, depending on the thickness of the glue.
2. Can I use other types of glue?
Clear school glue works best for this project, but you can also use other types of clear glue if you prefer. Just make sure it dries clear.
3. How can I clean my suncatchers?
To clean your suncatchers, gently wipe them with a damp cloth. Avoid using harsh cleaners to prevent damage.
DIY Suncatchers
- Total Time: 1455 minutes
- Yield: 1 suncatcher
- Diet: N/A
Description
Create beautiful DIY suncatchers that catch light and add colorful reflections in your home.
Ingredients
- Clear school glue
- Food coloring or liquid watercolor paints
- Plastic lid or clear plastic sheet
- Toothpicks or paintbrushes
- Scissors
- Optional: glitter
- Optional: sequins
- Optional: mini beads
- Optional: string or suction cup hooks for hanging
- Wax paper or parchment paper
Instructions
- Mix a few drops of food coloring or liquid watercolor paint into a small bowl of clear school glue until the color is evenly distributed.
- Use a paintbrush or toothpick to apply the colored glue onto a plastic lid or clear plastic sheet in your desired designs.
- If using, sprinkle glitter, sequins, or mini beads onto the glue while it’s still wet for extra sparkle and texture.
- Allow your suncatcher to dry completely.
- Once dry, peel it off the wax paper or parchment paper, and hang it using string or suction cup hooks.
Notes
Experiment with different colors and designs for unique suncatchers. Let kids participate for a fun bonding experience.
- Prep Time: 15 minutes
- Cook Time: 1440 minutes
- Category: Craft
- Method: Crafting
- Cuisine: N/A