
DIY Sand Art Bottles
DIY Sand Art Bottles
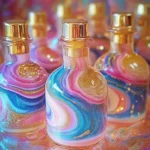
DIY Sand Art Bottles are a fun and creative project that anyone can enjoy. Whether you are looking for an activity to do with your kids, a classroom craft, or a unique gift idea, making sand art bottles can be a wonderful way to express creativity. These colorful bottles not only add charm to your home décor but also spark joy and imagination.
Why Make This Recipe?
Creating DIY Sand Art Bottles is not just about making art; it’s about the joy of crafting together. This project helps improve fine motor skills, encourages creativity, and provides a fulfilling way to recycle materials. It’s also a perfect way to have fun on a sunny day, engaging both adults and children in a delightful and hands-on experience.
How to Make DIY Sand Art Bottles
Ingredients
- Clean, dry sand (fine craft sand or play sand)
- Liquid watercolor or food coloring
- Small plastic or glass bottles (recycled or craft-grade)
- Ziploc bags (for mixing colors)
- Trays or baking sheets (for drying sand)
- Funnels and spoons (for layering)
- Shells (real or faux)
- Hot glue gun (adult supervision required)
- Gold spray paint (optional, for lids or shells)
Directions
-
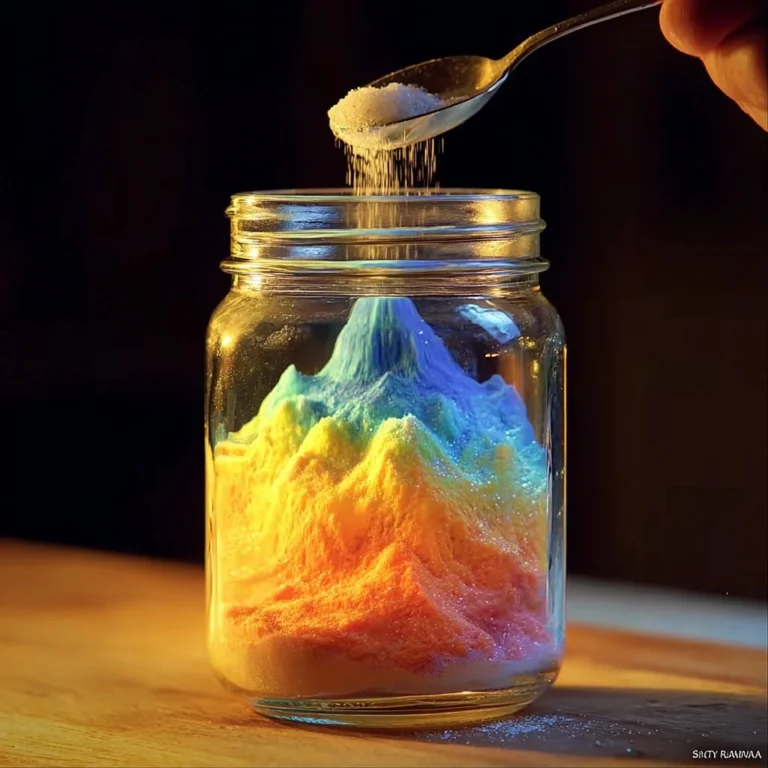
Dye the Sand: Start by adding 1/2–1 cup of sand into a Ziploc bag. Squeeze in several drops of liquid watercolor or food coloring. Seal the bag tightly and knead gently until the sand is fully tinted. Repeat this process with other colors to create a rainbow of sand colors.
-
Dry the Sand: Once you have dyed your sand, spread it out onto trays or baking sheets in thin layers. Allow the sand to dry completely in the sun or in a warm, dry room. This usually takes about 1–3 hours. To speed up the drying process, stir the sand occasionally.
-
Layer Your Art: After the sand is completely dry, it’s time to start layering. Use a spoon and a funnel to scoop each color of sand into your chosen bottle. Encourage children to switch colors and tilt the bottle slightly while adding each layer to create an appealing effect. Gently tap the bottle after each layer to help settle the sand.
-
Top It Off: Fill the bottle all the way to the top to prevent any settling over time. Once filled, cap the bottle tightly to ensure the sand stays in place.
-
Decorate the Lid (Optional): For a fun finishing touch, use a hot glue gun (with adult supervision) to attach small shells onto the cap or top of the bottle. If desired, spray the lid or glued shells with gold spray paint for an extra shiny look, and allow them to dry completely.
Tips & Variations
- Use mini bottles for fun party favors or engaging classroom crafts.
- Consider adding fine glitter to the sand for an added sparkle or effect. Be creative and have fun with your sand art project!
How to Serve DIY Sand Art Bottles
You can display your DIY Sand Art Bottles on shelves, desks, or as centerpieces. They make great conversation starters and can add a personalized touch to any space. You can also use them as unique gifts for friends and family.
How to Store DIY Sand Art Bottles
To store your DIY Sand Art Bottles, keep them in a cool, dry place away from direct sunlight. Ensure the caps are tightly secured to prevent any sand from spilling out. If you are using them as decorations, make sure to place them in a stable location to avoid them falling over.
Tips to Make DIY Sand Art Bottles
- Choose a variety of colors to make your sand art more vibrant and interesting.
- Experiment with different layering techniques, like creating waves or patterns.
- Encourage kids to express their individuality through their color choices and designs.
Variations
- You can create themed sand art bottles using colors representing special occasions, such as Halloween or Christmas.
- Instead of just layers, try creating shapes or pictures inside the bottles using the sand.
FAQs
1. Can I use regular sand from outside?
It’s better to use clean, dry craft sand or play sand because outside sand can contain dirt and debris that can spoil your project.
2. How long does the sand take to dry?
The sand usually takes about 1–3 hours to dry, depending on the humidity and sunlight. Stirring the sand occasionally can help speed up the process.
3. What if I run out of colors?
You can always mix colors by dyeing your sand in different combinations to create new shades. Get creative and have fun with it!
DIY Sand Art Bottles
- Total Time: 195 minutes
- Yield: Several bottles
- Diet: N/A
Description
A fun and creative project to make colorful sand art bottles that add charm to home décor and spark imagination.
Ingredients
- Clean, dry sand (fine craft sand or play sand)
- Liquid watercolor or food coloring
- Small plastic or glass bottles (recycled or craft-grade)
- Ziploc bags (for mixing colors)
- Trays or baking sheets (for drying sand)
- Funnels and spoons (for layering)
- Shells (real or faux)
- Hot glue gun (adult supervision required)
- Gold spray paint (optional, for lids or shells)
Instructions
- Dye the Sand: Add 1/2–1 cup of sand into a Ziploc bag. Squeeze in liquid watercolor or food coloring, seal the bag, and knead until fully tinted.
- Dry the Sand: Spread dyed sand onto trays and allow it to dry completely in the sun or a warm room (1–3 hours).
- Layer Your Art: Use a spoon and funnel to layer colors of sand into the bottle. Tap gently after each layer.
- Top It Off: Fill the bottle to the top and cap tightly to secure the sand.
- Decorate the Lid: Use a hot glue gun to attach shells and/or spray paint for a shiny finish, allowing to dry completely.
Notes
Create mini bottles for party favors. Consider adding fine glitter to the sand for sparkle.
- Prep Time: 15 minutes
- Cook Time: 180 minutes
- Category: Craft
- Method: Crafting
- Cuisine: N/A