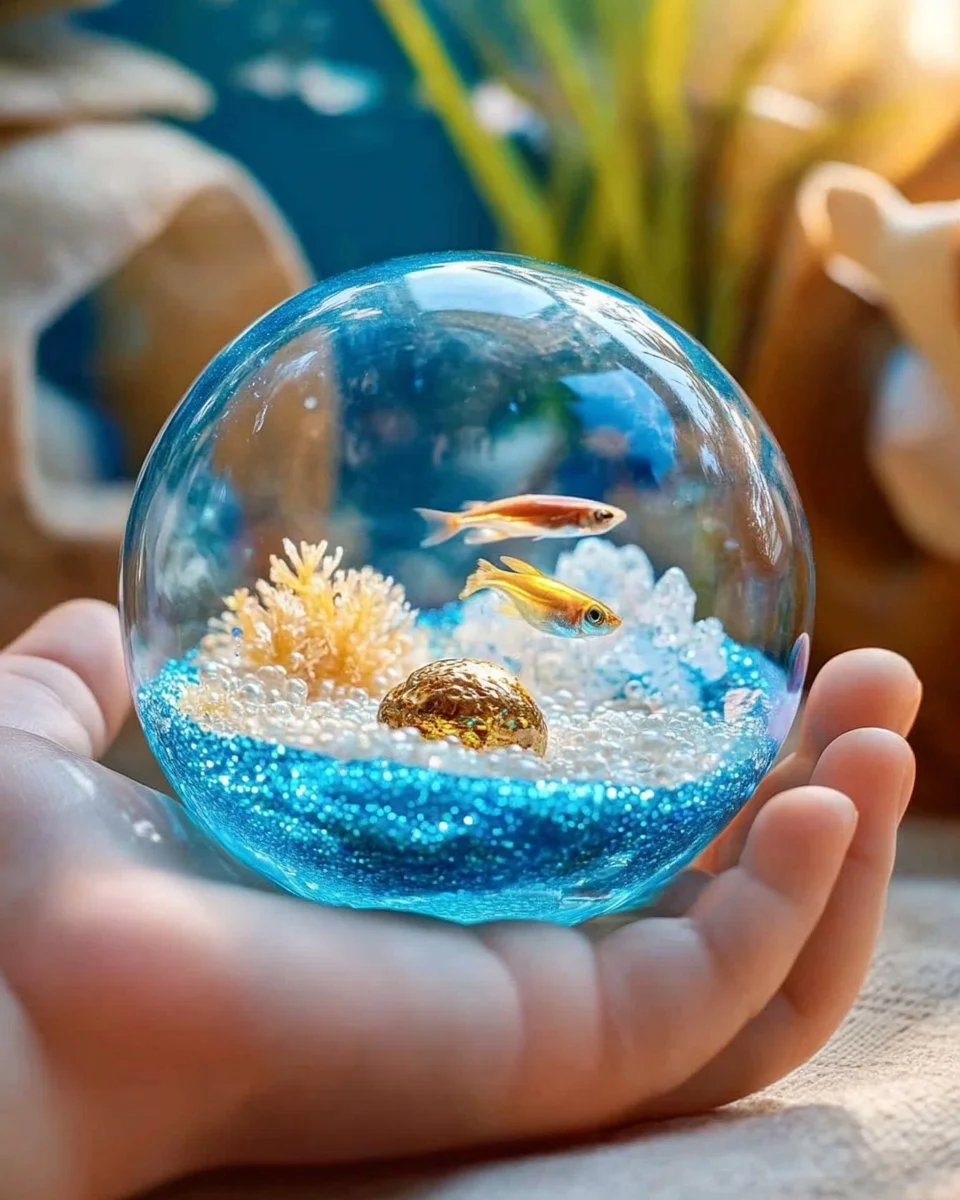
DIY Aquarium Sensory Gel Balls
DIY Aquarium Sensory Gel Balls are a fun and creative project that can improve sensory play for kids. These colorful gel balls not only look attractive but also add an engaging element to any sensory bin. They are easy to make and provide endless opportunities for exploration and imaginative play.
Why Make This Recipe
Making DIY Aquarium Sensory Gel Balls is an excellent way to create a personalized sensory experience. They stimulate a child’s sense of touch while encouraging fine motor skills and creativity. Plus, you can customize colors and sizes to fit your child’s preferences! It’s also an economical choice compared to store-bought sensory toys.
How to Make DIY Aquarium Sensory Gel Balls
Ingredients:
- 1 cup of water
- 1/2 cup of clear glue
- 1 teaspoon of borax
- Food coloring (optional)
- Small containers or molds (ice cube trays work well)
Directions:
- In a bowl, mix the clear glue and water together until combined.
- If you want to add color, add a few drops of your chosen food coloring and mix well.
- In another small bowl, dissolve the borax in 1 cup of warm water.
- Slowly pour the glue mixture into the borax solution while stirring gently.
- You will see the mixture start to form a gel. Continue stirring for a few minutes.
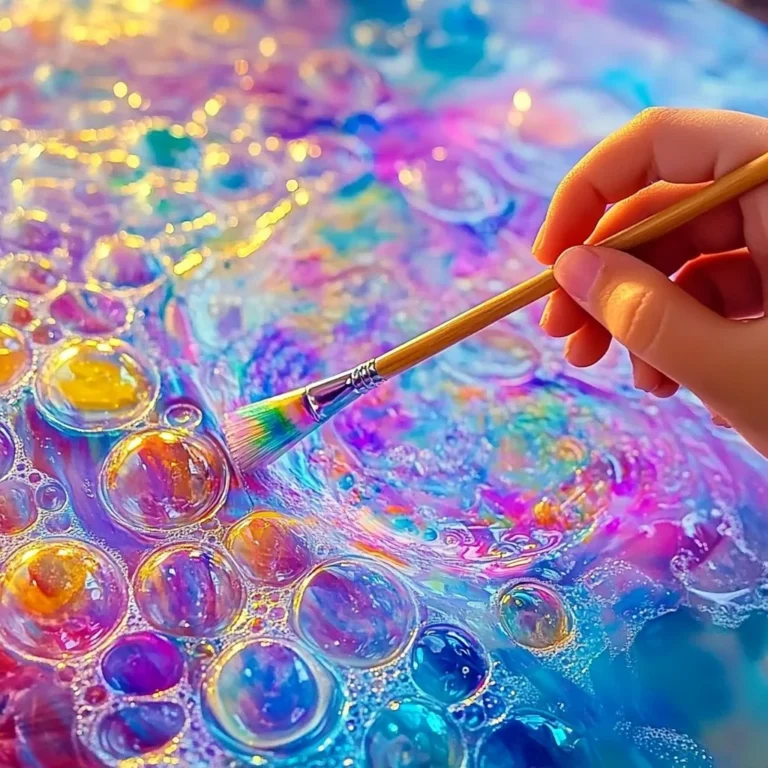
- Once it thickens, use your hands (be careful, it might be a bit sticky) to knead and roll it into balls.
- Place the balls into small containers or molds to dry for about 24 hours.
- After drying, your gel balls are ready to use!
How to Serve DIY Aquarium Sensory Gel Balls
You can serve the DIY Aquarium Sensory Gel Balls in a sensory bin filled with other textures like rice, beans, or sand. You can also let kids play with them in water for an added splash of fun! Mixing different sizes and colors can make the experience even more exciting.
How to Store DIY Aquarium Sensory Gel Balls
Store the gel balls in an airtight container to keep them fresh and hydrated. It’s best to keep them in a cool place away from direct sunlight to prevent them from drying out. If they start to lose moisture, you can soak them in water for a bit to revive them.
Tips to Make DIY Aquarium Sensory Gel Balls
- Make sure to mix the glue and water thoroughly for even coloring.
- Use different shapes of molds to create variety.
- You can experiment with different scents by adding a few drops of essential oils.
Variation
You can diversify your gel balls by adding glitter for a sparkling effect, or you can experiment with different colors to create a themed sensory experience.
FAQs
Q1: Can I use regular glue instead of clear glue?
A1: It’s best to use clear glue for a more vibrant look, but you can use regular white glue. Just keep in mind it may result in a different texture.
Q2: How long do these gel balls last?
A2: If stored properly in an airtight container, they can last for several weeks. However, they may dry out over time.
Q3: Can I make these without borax?
A3: Borax is essential for creating the right gel texture. However, there are alternative recipes using different thickening agents, but the results may vary.
Now you have a simple and enjoyable recipe to create your own DIY Aquarium Sensory Gel Balls!
Print
DIY Aquarium Sensory Gel Balls
- Total Time: 15 minutes
- Yield: 10-15 gel balls
- Diet: N/A
Description
Create colorful gel balls for sensory play that stimulate touch and encourage creativity in kids.
Ingredients
- 1 cup of water
- 1/2 cup of clear glue
- 1 teaspoon of borax
- Food coloring (optional)
- Small containers or molds (ice cube trays work well)
Instructions
- In a bowl, mix the clear glue and water together until combined.
- If you want to add color, add a few drops of your chosen food coloring and mix well.
- In another small bowl, dissolve the borax in 1 cup of warm water.
- Slowly pour the glue mixture into the borax solution while stirring gently.
- Continue stirring for a few minutes until the mixture starts to form a gel.
- Once it thickens, knead and roll it into balls with your hands.
- Place the balls into small containers or molds to dry for about 24 hours.
- After drying, your gel balls are ready to use!
Notes
Store gel balls in an airtight container to keep them fresh and hydrated. They can last for several weeks if stored properly.
- Prep Time: 15 minutes
- Cook Time: 0 minutes
- Category: DIY Craft
- Method: Crafting
- Cuisine: N/A