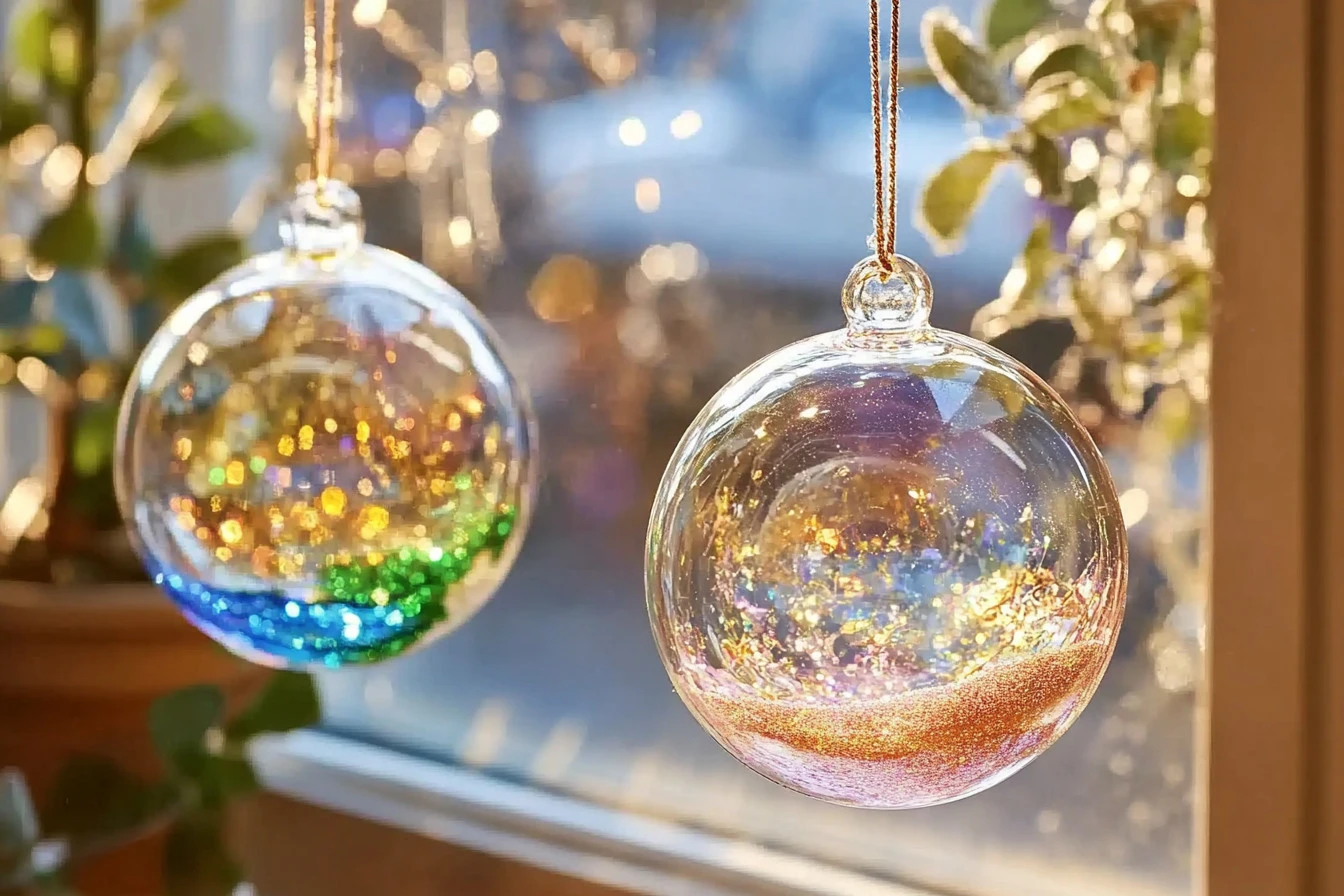
Clear Glue Suncatcher Craft
Clear Glue Suncatcher Craft is a fun and easy way to create beautiful decorations for your windows. With just a few simple materials, you can make colorful designs that brighten up any room. This craft is perfect for kids and adults alike, making it a fun family activity.
Why Make This Recipe
Making Clear Glue Suncatchers lets you explore your creativity. It’s also a great way to practice fine motor skills. Plus, these suncatchers can add a splash of color and joy to your home. They catch the sunlight beautifully, creating lovely reflections that everyone will enjoy.
How to Make Clear Glue Suncatcher Craft
Ingredients:
- Clear school glue
- Food coloring or liquid watercolor paints
- Plastic lid or clear plastic sheet
- Toothpicks or paintbrushes
- Scissors
- Optional: Glitter sequins or mini beads
- Optional: String or suction cup hooks for hanging
- Wax paper or parchment paper
Directions:
- Prepare Your Workspace: Cover your surface with wax paper or parchment paper and lay out plastic lids or cut sheets of clear plastic.
- Add the Glue Base: Fill each plastic lid with a generous amount of clear glue and tilt the lid gently so the glue spreads evenly.
- Add Colour: Drop food coloring or liquid watercolors onto the glue, using one drop per color. Optional: Add glitter sequins or beads.
- Swirl & Design: Use toothpicks or paintbrushes to swirl colors into patterns, like spiral galaxy swirls, tie-dye blends, or stained-glass block patterns.
- Dry Completely: Place the lid somewhere flat and let it dry for 24–72 hours until it becomes transparent and peelable.
- Peel & Trim: Gently peel the dry suncatcher out of the lid and use scissors to trim any rough edges.
- Hang & Shine: Punch a small hole at the top or use tape to tie with string or ribbon and hang in a sunny window, or attach with a suction cup hook.
How to Serve Clear Glue Suncatcher Craft
Once your suncatcher is ready, simply hang it in a sunny window. Enjoy how the light shines through and creates a colorful display. You can also make several and create a beautiful collection!
How to Store Clear Glue Suncatcher Craft
Store any leftover materials, like glue and paint, in a cool, dry place. To keep your suncatcher safe when not in use, hang it in a place away from direct sunlight to avoid fading.
Tips to Make Clear Glue Suncatcher Craft
- Experiment with different colors and patterns to make unique designs.
- Use less glue for thinner suncatchers, or more for thicker ones.
- If you want extra sparkle, go wild with the glitter!
Variation
You can use different shapes or sizes of plastic lids to create various designs. Try making heart shapes for Valentine’s Day or stars for a night sky theme!
FAQs
1. Can I use regular glue instead of clear school glue?
No, regular glue will not give you the same transparent effect. Clear school glue works best for this craft.
2. How do I hang the suncatcher?
You can either punch a hole at the top and use string or ribbon or attach it with suction cup hooks for a quick and easy way to hang it.
3. How long does it take to dry?
It typically takes 24 to 72 hours for the suncatcher to dry completely, so be patient!
Now you’re all set to create your own amazing Clear Glue Suncatchers! Have fun crafting!
PrintClear Glue Suncatcher Craft
- Total Time: 1455 minutes
- Yield: 1 suncatcher
- Diet: N/A
Description
Make beautiful and colorful suncatchers using clear glue and food coloring. Perfect for kids and adults!
Ingredients
- Clear school glue
- Food coloring or liquid watercolor paints
- Plastic lid or clear plastic sheet
- Toothpicks or paintbrushes
- Scissors
- Optional: Glitter sequins or mini beads
- Optional: String or suction cup hooks for hanging
- Wax paper or parchment paper
Instructions
- Prepare Your Workspace: Cover your surface with wax paper or parchment paper and lay out plastic lids or clear plastic sheets.
- Add the Glue Base: Fill each plastic lid with a generous amount of clear glue and tilt the lid gently so the glue spreads evenly.
- Add Colour: Drop food coloring or liquid watercolors onto the glue, using one drop per color. Optional: Add glitter sequins or beads.
- Swirl & Design: Use toothpicks or paintbrushes to swirl colors into patterns.
- Dry Completely: Place the lid flat and let it dry for 24–72 hours until it is transparent and peelable.
- Peel & Trim: Gently peel the suncatcher out of the lid and trim any rough edges with scissors.
- Hang & Shine: Punch a small hole at the top or use tape to hang it with a string or suction cup hook.
Notes
Experiment with colors and patterns for unique designs. Use less glue for thinner suncatchers, more for thicker ones, and feel free to add glitter for extra sparkle!
- Prep Time: 15 minutes
- Cook Time: 1440 minutes
- Category: Craft
- Method: Crafting
- Cuisine: N/A