DIY Rainbow-in-a-Jar Sensory Bottle
DIY Rainbow-in-a-Jar Sensory Bottle
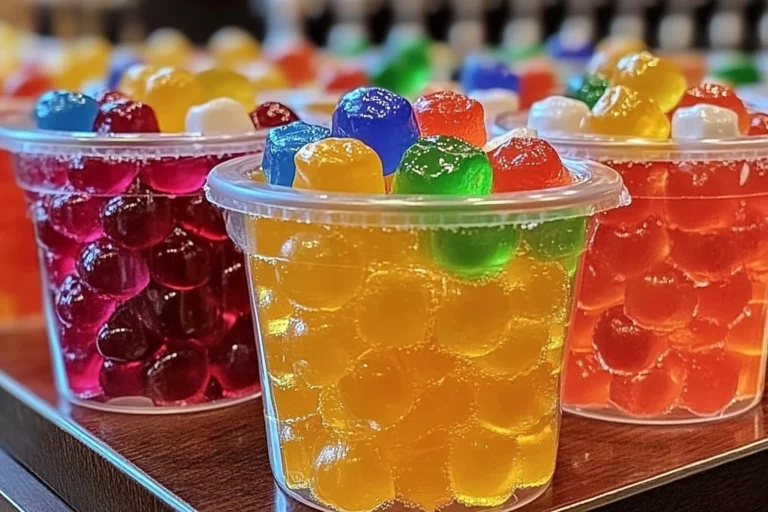
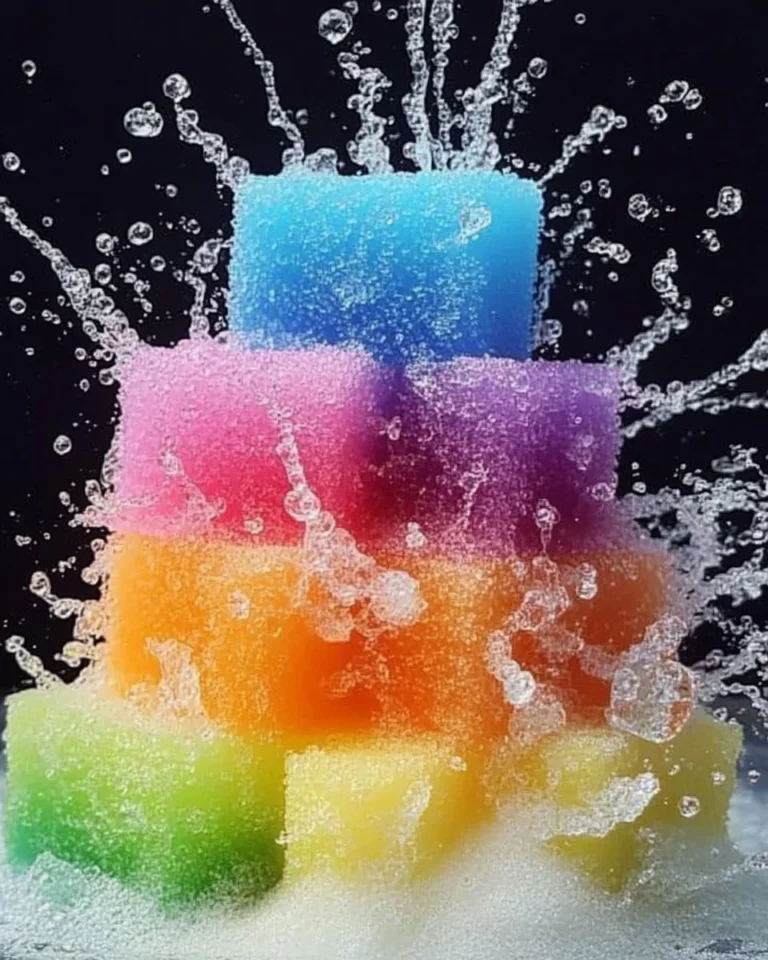
Are you looking for a fun and easy project to do with kids or for yourself? The DIY Rainbow-in-a-Jar Sensory Bottle is a great choice! This colorful craft not only looks beautiful but also provides a calming sensory experience. It’s perfect for playtime, decoration, or even as a unique gift!
Why Make This Recipe
Creating a Rainbow-in-a-Jar Sensory Bottle is a fun way to explore colors and science with simple materials. Kids love watching the colors swirl together, and it can help soothe anxiety or stress. Plus, it’s a fantastic activity you can do together, promoting creativity and learning.
How to Make DIY Rainbow-in-a-Jar Sensory Bottle
Ingredients:
- Clear plastic jar or bottle (preferably with a tight-fitting lid)
- Water
- Vegetable oil or baby oil
- Food coloring (red, orange, yellow, green, blue, purple)
- Glitter (optional, for added sparkle)
- Funnel (optional, for easy pouring)
- Spoon or craft stick (optional, for stirring)
Directions:
- Prepare the Bottle: Start by cleaning and drying your clear plastic jar or bottle.
- Add the Water: Fill the jar about 1/3 of the way with water.
- Add Food Coloring: Add a few drops of food coloring to the water for each color of the rainbow (red, orange, yellow, green, blue, purple). Stir gently to mix the colors into the water.
- Add the Oil: Fill the remaining space in the jar with vegetable oil or baby oil. You’ll notice the oil will float on top of the water because it’s less dense.
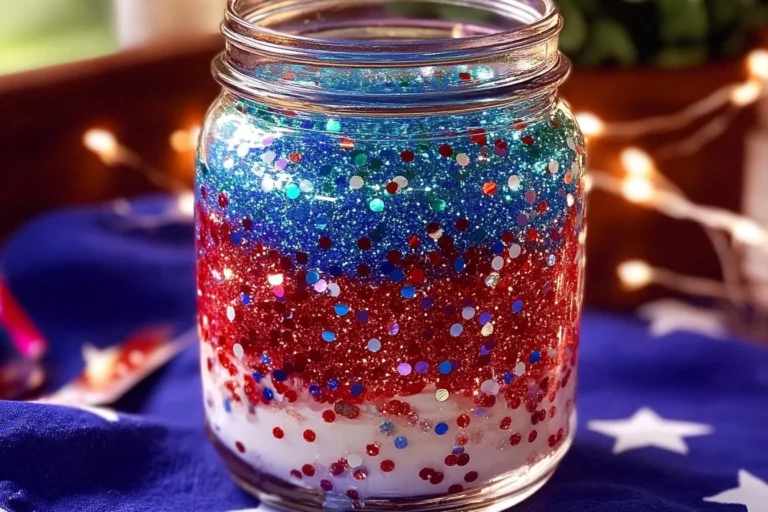
- Add Glitter (Optional): If you want a little extra sparkle, sprinkle a small amount of glitter into the bottle. It will float and swirl with the oil, adding to the sensory experience.
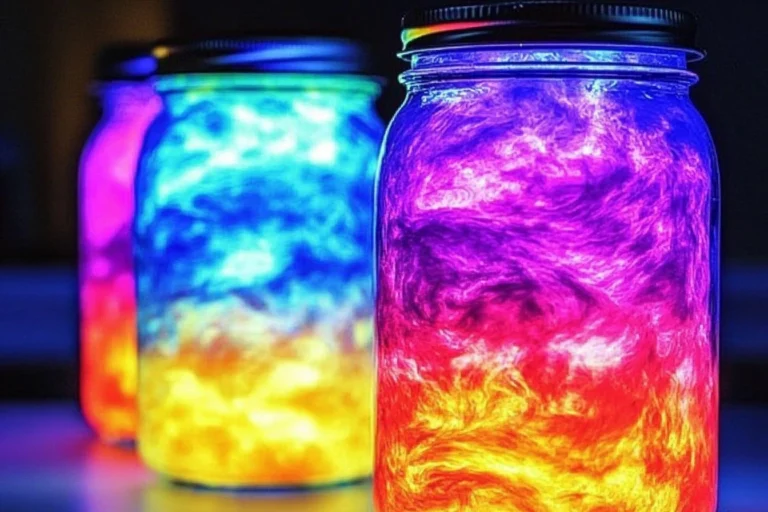
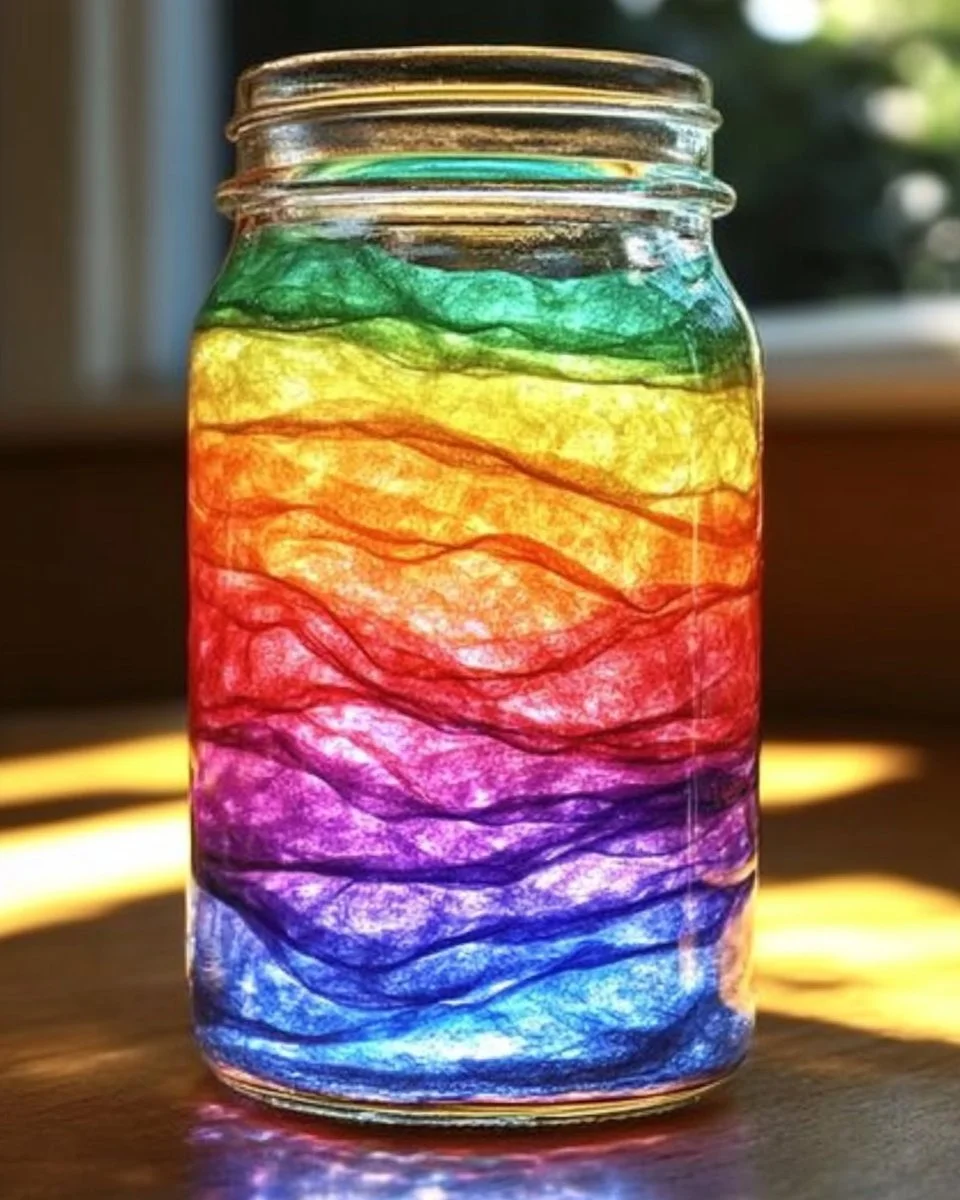
- Seal and Shake: Close the lid tightly and give the jar a gentle shake. Watch as the rainbow colors swirl together in a mesmerizing display!
- Enjoy the Sensory Experience: Hold and shake the jar to watch the colors mix and separate, providing a calming sensory experience.
How to Serve DIY Rainbow-in-a-Jar Sensory Bottle
You can simply place the Rainbow-in-a-Jar Sensory Bottle on a table or shelf as decoration. Take turns shaking it and watching the colors mix. It can also be used during quiet time as a calming tool to help focus the mind.
How to Store DIY Rainbow-in-a-Jar Sensory Bottle
Store your sensory bottle in a cool, dry place. Make sure the lid is tightly sealed to prevent spills. If it gets dirty or you notice any leaks, you can always create a new one!
Tips to Make DIY Rainbow-in-a-Jar Sensory Bottle
- Use a clear bottle to fully enjoy the vibrant colors.
- Get creative with the order of colors or types of glitter you use!
- Experiment with different amounts of food coloring for various shades.
Variation
- You can create a themed sensory bottle by using colors for holidays or events (like red and green for Christmas or pastels for Easter).
- Try using scented oils for an added sensory experience!
FAQs
Q1: Can I use any type of bottle for this project?
A1: Yes, any clear plastic jar or bottle will work, but make sure it has a tight-fitting lid to prevent spills.
Q2: Is the glitter safe for young children?
A2: Yes, but always supervise young children while using glitter, as it can be a choking hazard if ingested.
Q3: How long will my sensory bottle last?
A3: It can last a long time if stored properly. Just make sure the lid is secure and check for any leaks occasionally.
Enjoy making your DIY Rainbow-in-a-Jar Sensory Bottle and have fun with this colorful project!