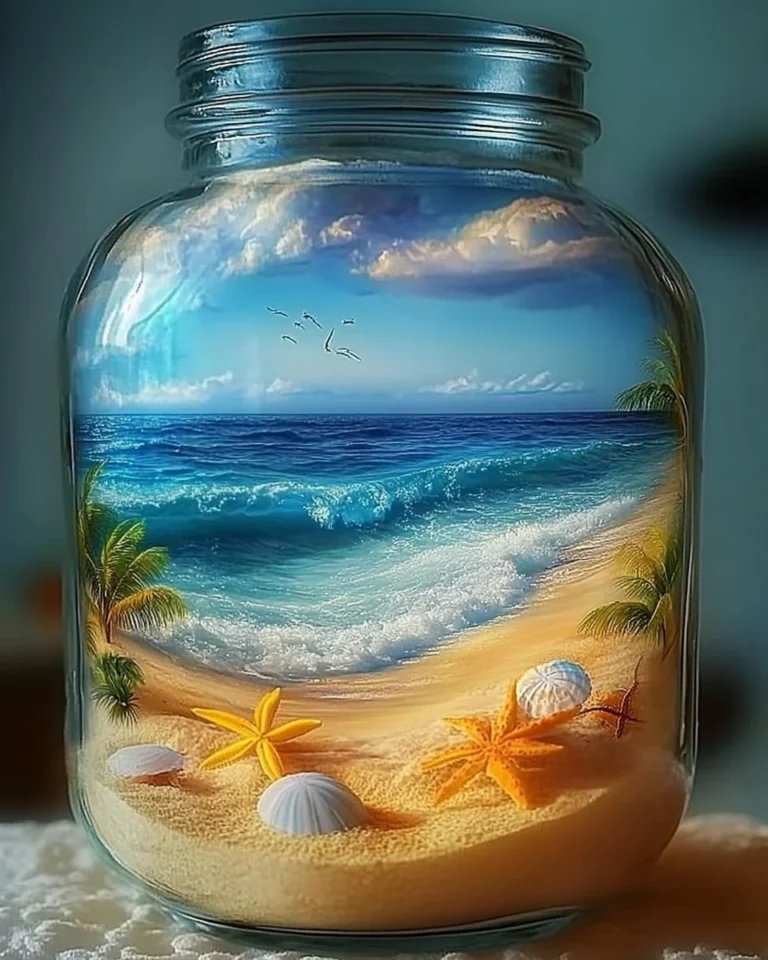
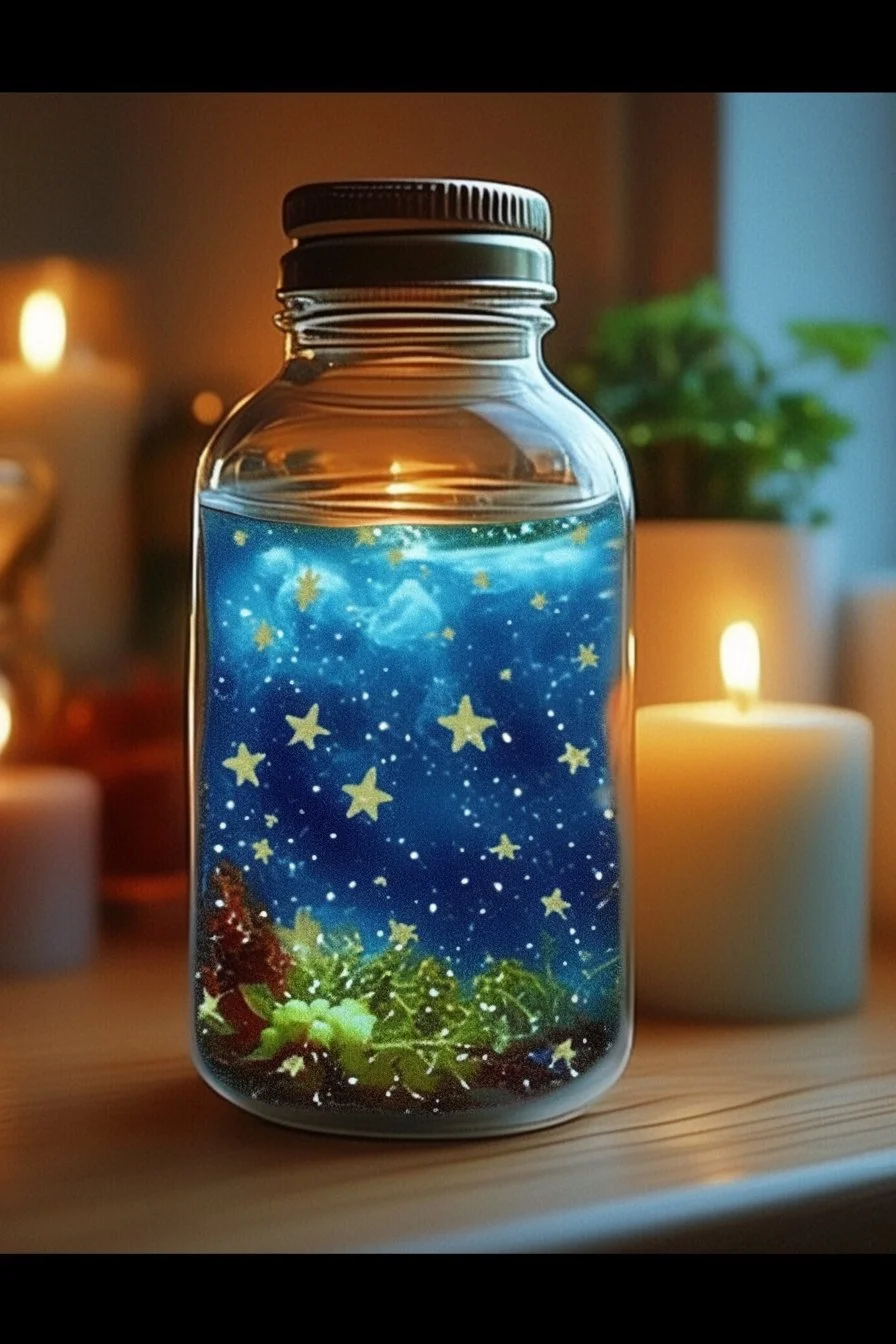
DIY Calm-Down Bottles
DIY Calm-Down Bottles
Introduction
Calm-down bottles are a wonderful craft that helps both kids and adults to relax and focus. They are filled with glitter and other fun items that move slowly, creating a serene experience. Watching the glitter swirl and settle can be calming for anyone feeling overwhelmed or anxious.
Why Make This Recipe
Creating your own calm-down bottle is not only easy but also a fun project. It allows you to personalize your bottle with colors and decor that you like. Plus, it’s a great way to practice mindfulness. Shaking the bottle and watching the contents inside can help clear your mind and soothe your feelings.
How to Make DIY Calm-Down Bottles
Ingredients:
- 1 Clear plastic or glass bottle (16–24 oz, with tight-sealing lid)
- Warm water (enough to fill most of the bottle)
- 1–2 tbsp clear corn syrup (or clear glue)
- 1–2 tbsp white school glue (optional)
- Fine glitter (2–3 coordinating colors, about 1–2 tsp total)
- Sequins, tiny beads, or microfoam shapes (optional, 1–2 tbsp)
- 1–2 drops liquid food coloring (optional)
- 1 tsp glycerin (optional)
- Hot glue or super glue (to seal lid airtight)
Directions:
- Prepare Your Bottle: Remove labels and rinse the bottle thoroughly. Ensure it’s dry and that the lid fits snugly.
- Mix the Base Liquid: Combine warm water (3⁄4 of the bottle’s volume) with corn syrup (or glycerin) and stir in glue if desired. Add food coloring if using.
- Add Glitter & Embellishments: Pour glitter into the bottle, followed by any sequins or shapes.
- Fill & Seal: Add the prepared liquid into the bottle, leaving 1 inch of space, then seal the lid with glue.
- Shake & Enjoy: Shake the bottle and watch the glitter settle while focusing on your breathing. Experiment with themes for unique designs.
How to Serve DIY Calm-Down Bottles
Calm-down bottles can be enjoyed anytime you feel stressed or need to focus. Simply take the bottle, give it a gentle shake, and watch the calming effect of the glitter. You can use it during quiet time, before bed, or even during a hectic moment.
How to Store DIY Calm-Down Bottles
Store the calm-down bottles in a safe, dry place. Make sure the lid is tightly secured to prevent any spills. These bottles can last a long time if stored properly!
Tips to Make DIY Calm-Down Bottles
- Experiment with different colors and types of glitter to see what you like best.
- Try adding small toys or themed objects inside the bottle for a fun twist.
- Adjust the amount of corn syrup or glycerin for different flow speeds. More syrup will make it slower!
Variation
You can change up the base of your bottle by using colored water, adding essential oils for a pleasant scent, or using themed decorations for special occasions (like holidays or birthdays).
FAQs
Q1: Can I use any type of bottle?
A1: It’s best to use clear plastic or glass bottles with a tight-sealing lid to see the contents and prevent leaks.
Q2: Will the glitter mix with the water?
A2: No, the glitter will float in the liquid, creating beautiful visuals as it settles slowly.
Q3: How long will the calm-down bottle last?
A3: If stored properly, the calm-down bottle can last for months or even years without any issues. Just make sure the lid stays sealed!
Creating your own DIY calm-down bottle is a relaxing project that brings fun and mindfulness into your routine. Enjoy the process and the calming effects!